This week I was able to set some time aside and get my server back up and running. This server was gifted by someone in the industry who no longer needed it. I am forever grateful for this and hope one day to give back to someone else who is learning.
This post is going to be broken into two parts. Part I will contain information about the general install and setup of Windows Server 2019. Part II will contain some more info regarding setting up DNS and adding a user. By the end of the post you will have a basic understanding of how to create an Active Directory service, associated with DNS allowing you to join a PC to the domain. Another note worth mentioning is that you do not have to purchase a license to create this environment. The evaluation edition offered by Microsoft is free and prefect for a learning environment.
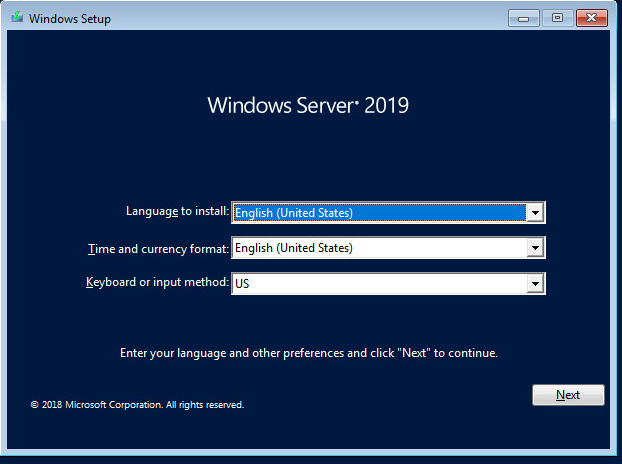
Some screens with default settings will be skipped over. If you run into a screen that is not listed throughout this discussion then it is assumed that it is mostly self explanatory and requires no further guidance.
After booting up Windows Server for the first time you will see the above prompt displayed. All personal preference.
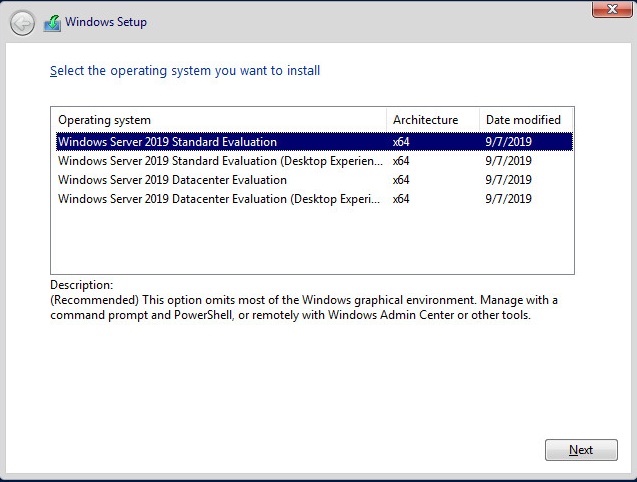
Next you will be required to pick the Operating System. This again is personal preference. For those with no experience it may be wise to choose the Desktop Experience. Otherwise you will be in a terminal like environment and have to do everything through a command line. I decided to chose the second option allowing for a GUI.

If this is a fresh install the option you need to choose on the following screen will be Custom.
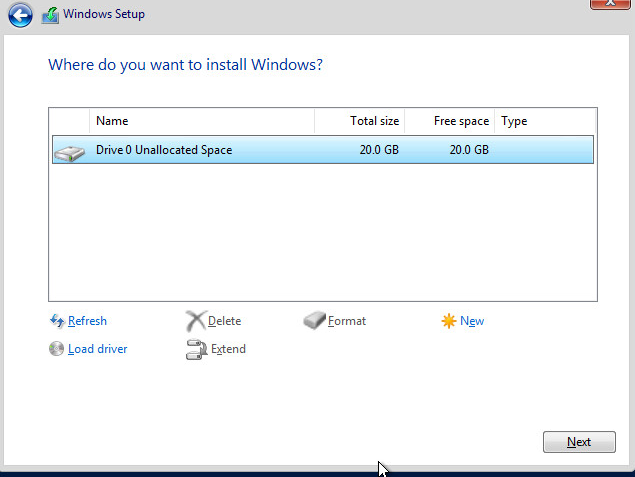
After choosing the Custom option you will be asked for the location of where to install the OS. This will vary depending on the setup. For me I am running this in a virtual environment within ESXI. I have allocated a 20GB VHD for this lab. If this was a previously partitioned disk you can choose to format otherwise select “next”.
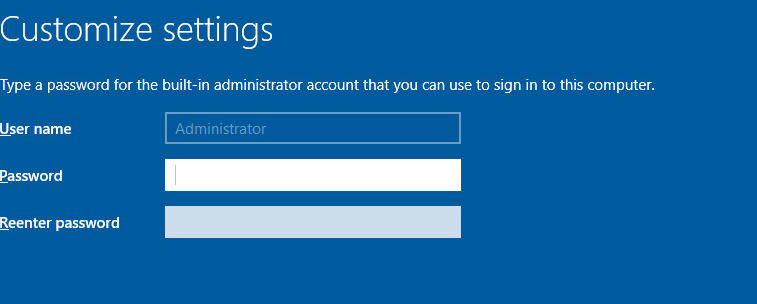
Nothing fancy here. Type a password within its required constraints. The username as you can see is not an option to change. I highly suggest later on get into the practice of creating another administrator account and disabling this one or at the very least create a strong password. Shortly after you will start the install.
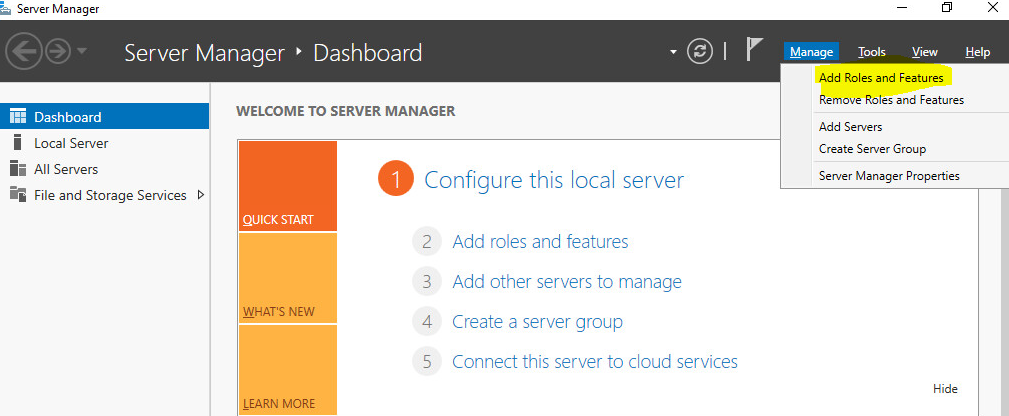
After the install is complete and you login, the server manager will open. Here is the dashboard where the magic happens. For the purpose of this discussion we are looking to install Active Directory and DNS services. On the toolbar at the top, click manage > “Add Roles and Features“.
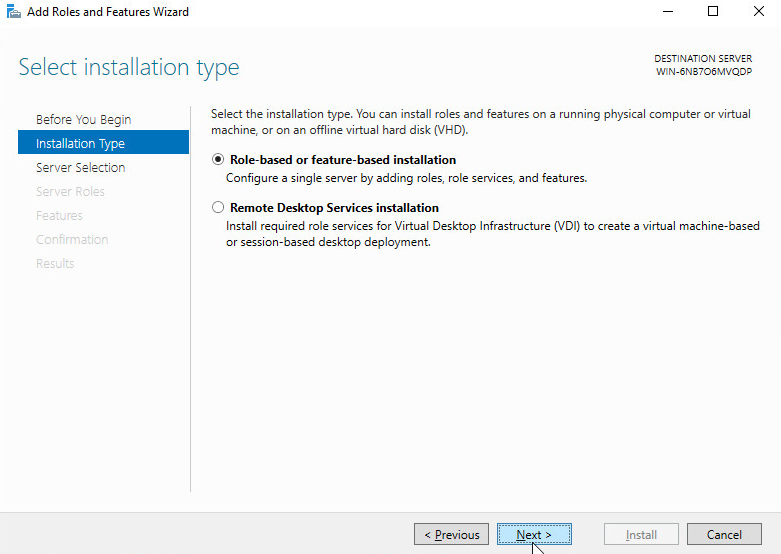
Next you will leave the default option “Role-based or feature-based installation” selected.
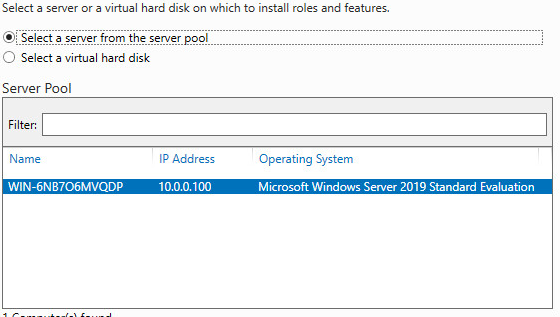
The next screen will require you to select the server. If you would like a better name then the default given then change the name of PC in Windows. It is also a good idea to change the IP address to a static address rather then dynamic. For this discussion I will leave that to you to figure out.
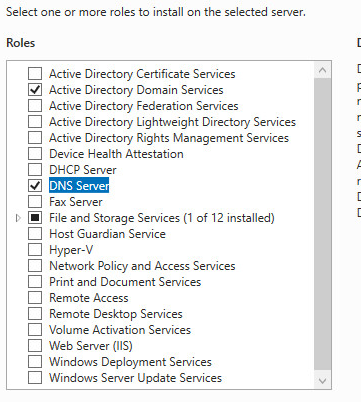
On the next screen you will want to make sure that “Active Directory Domain Services” and “DNS Server” is selected.
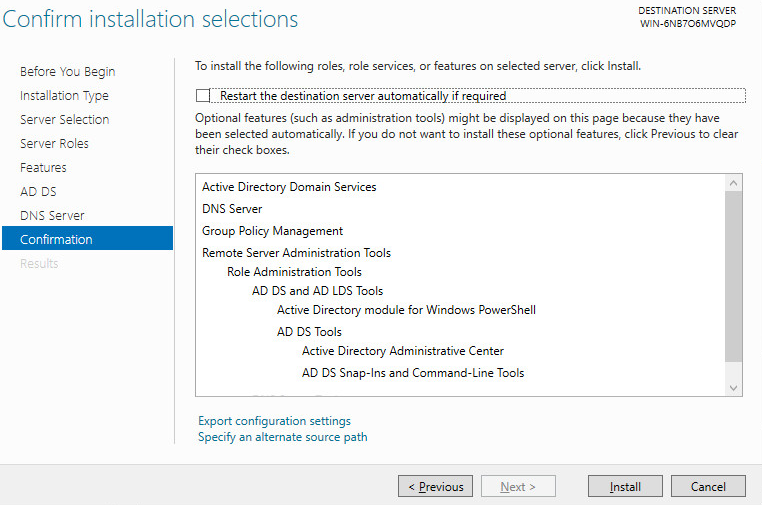
We are almost done! After selecting the options you will be brought to the install screen. You can leave everything as is and just click “Install“.
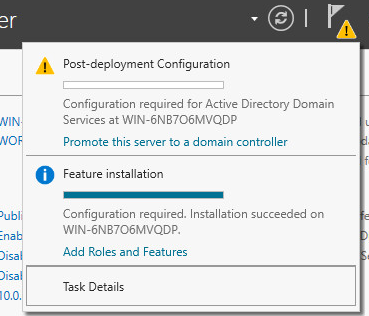
Great now the install is complete. Next we must Promote the server to be a Domain Controller. You can do this by clicking the flag at the top and selecting that option under “Post-Deployment Configuration.
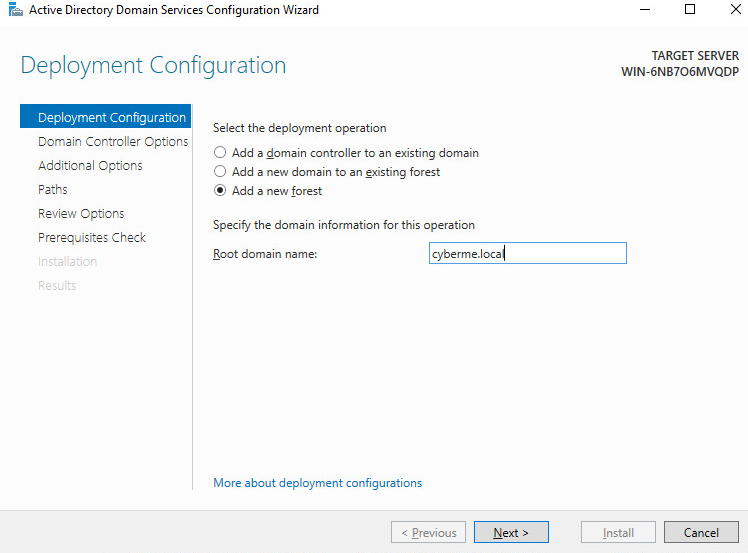
Deployment configuration. This screen is important. You must decide a “Root Domain Name“. This will later be used in order to join other devices to the Domain. For me I went with Cyberme.local. Also, for a fresh install you want to ensure you select “Add a new forest“.
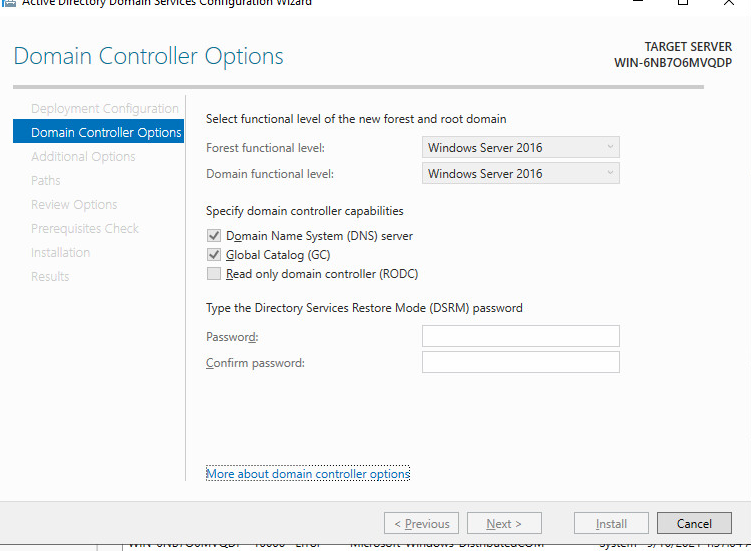
The next screen you can leave default. You will be required to enter a password.
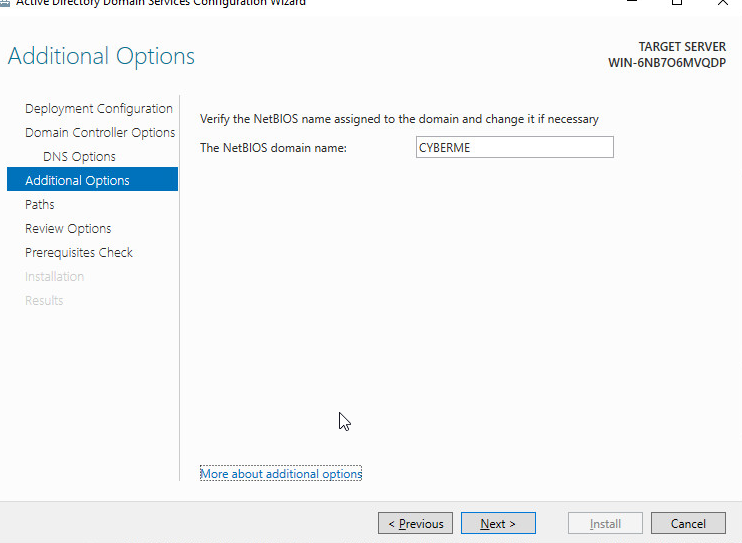
The NetBIOS domain name you can also leave default.
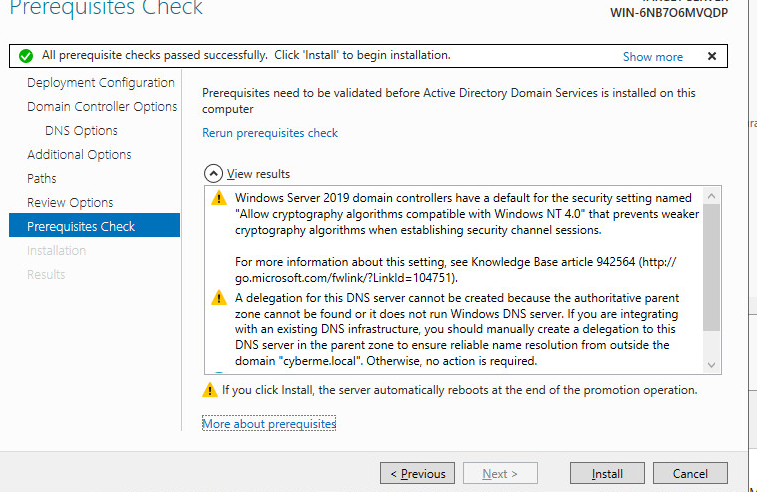
Last but not least is the Prerequisites Check. Click install and the magic is about to begin. Well sort of.
After the install is complete the computer will prompt you with a restart to save changes. Once the restart occurs and the server boots back up it should now be configured as a DC.
That concludes Part I of installing Windows Server! Their is not much to it. Similar to most other installs of an Operating System. In Part II we will get to do some fun stuff with DNS. This will allow other devices on the domain to resolve each other by I.P or Name. Similar to what we do to visit Google.com AKA 172.217.31.142.
Hope this helps someone, be sure to look out for the next discussion. As always, Never Stop Learning!