Introduction
Weather you are in the lab learning or in the work place, OpenVAS is a good tool to check out. GreenBone offers both a paid and free solution depending on the requirements of the task. In this case, I was set out to learn about the platform and scan my environment for vulnerabilities. At work I have touched almost every tool known to man when it comes to vulnerability management. Most if not all are paid and not available in the lab. Well today that changes. We will cover the steps of installing OpenVAS and later on in the series cover the steps to create an asset, scan asset for vulnerabilities and even compliance using CIS benchmarks.
Highlights
– 💡 Lack of updated tutorials: The video addresses the scarcity of up-to-date tutorials on YouTube for installing GreenBone Vulnerability Management (OpenVAS) using Docker. This creates a gap in knowledge for users seeking the latest installation process.
– 💻 Hardware requirements: The video highlights the minimum and recommended hardware requirements for installing GreenBone, including CPU cores, hard disk space, and RAM. This information helps users ensure they have the necessary resources for smooth installation and operation.
– 📦 Package installation and Docker setup: The video guides users through installing required packages like curl and Docker.io. It also provides instructions for setting up a Docker repository, although it’s not necessary for the installation process.
– 🛠️ User permissions and directories: The video demonstrates how to set up user permissions to run Docker without using “sudo” and create directories for the Docker Compose file and associated volumes. This ensures smooth execution and organization of the installation.
– ⚙️ Modifying the Docker Compose file: The video explains the importance of modifying the Docker Compose file to allow access from any IP address. It guides users to change the IP address in the file to ensure accessibility.
– 🚀 Running Docker Compose: The video instructs users to run “sudo Docker Compose up -d” to start the installation process. This command pulls in images, creates volumes, and sets up the GreenBone Vulnerability Management Solution.
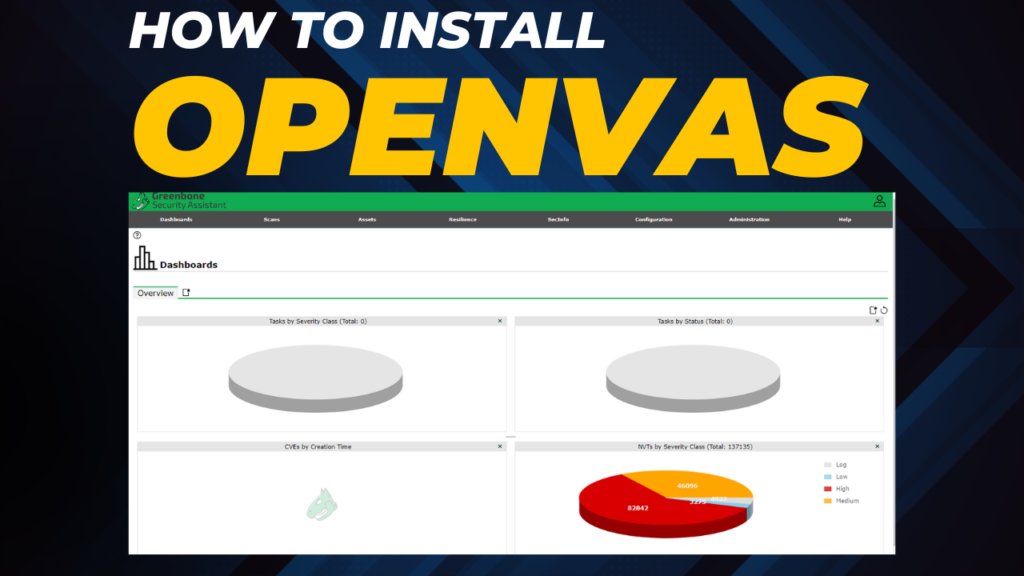
– 🔒 Accessing GreenBone: The video shows users how to access the GreenBone login screen after the installation process. It emphasizes checking the feed status to ensure the update is in progress, which enables access to CVEs and other vulnerability information.
Timestamps
00:00 Introduction to the lack of updated tutorials on OpenVAS using Docker.
01:50 Hardware requirements for installing GreenBone Vulnerability Management Solution.
04:20 Installing necessary packages and setting up Docker repository.
07:10 Setting up user permissions and directories for the Docker Compose file.
10:30 Modifying the Docker Compose file to allow access from any IP address.
13:50 Running Docker Compose to start the installation process.
17:15 Accessing the GreenBone login screen and verifying feed status.

Pingback: Scanning for vulnerabilities the right way (OpenVAS) - Cyber Me