Today I set some time aside to set up an entirely new enviornment to continue my learning. For several months I have been running Kali Linux within the Windows Subsystem for Linux (WSL2). Throughout my time using WSL2 I had several issues arise where I needed a full instance of Kali. For example, Wireshark was not working correctly and was unable to find my network interface card (NIC). With this in mind and the timing of bringing up Cyber.Me, I found it a good time to start fresh! Below will be my first attempt at an instructional of how I did this along with some tips to get you there safely.
Install a hypervisor (VirtualBox)
Their are several types of hypervisors one can install to run these machines. Today we are looking at a Type 2 hypervisor. One of the biggest reasons I went with Virtualbox today was due to its ability to capture snapshots. I am looking for an enviornment that will allow me to make mistakes. With snapshots I will be able to revert back to a good configuration.
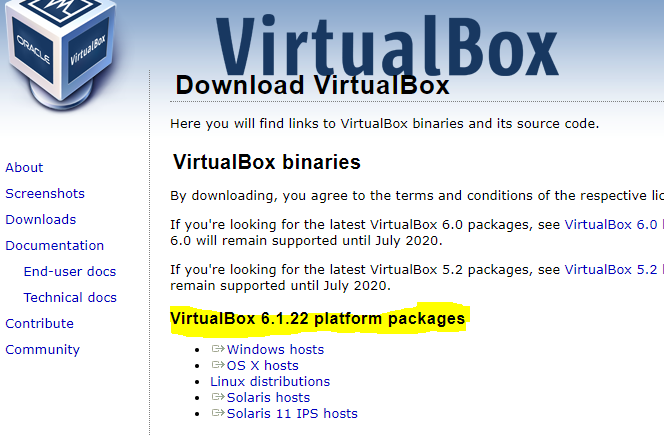
For my setup I am looking to run these virtual machines (VM’s) within my windows environment. After downloading from VirtualBox, just follow the instructions to install the software (very straight forward).
Download Kali Linux
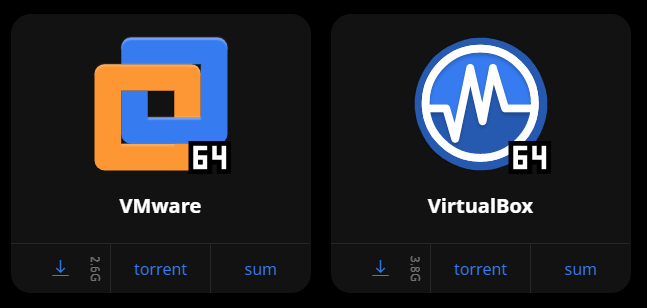
For todays purpose I went with the VirtualBox option. This particular download (first time for me) is a pre-built package provided directly by the Kali website. Makes the installation even easier.
Using VirtualBox
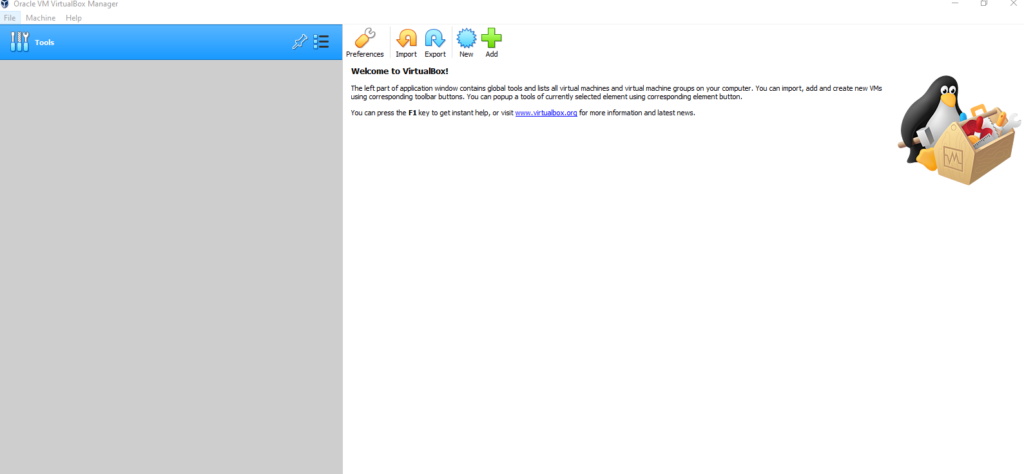
Once VirtualBox is installed, the first startup will look similar to the picture posted above depending on the version. A popular alternative to using a prebuilt package is downloading an ISO and adding to VirtualBox. I will do a brief walkthrough highlighting the key steps to get you going.
Option 1) Adding VM using ISO
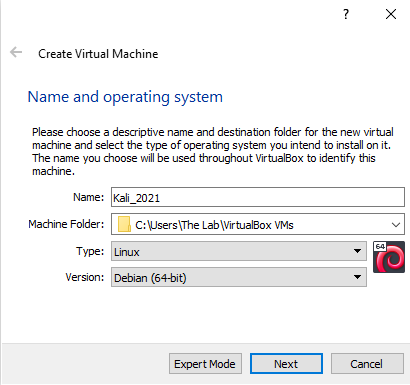
On the user interface along the top you will see a “new” option. If you click this option several things will begin to happen. Starting with the naming and type. For todays example it will look similar to the picture. Of course you can name it whatever you would like and choose whatever folder. Since we are using a Kali Machine the version is Debian based.
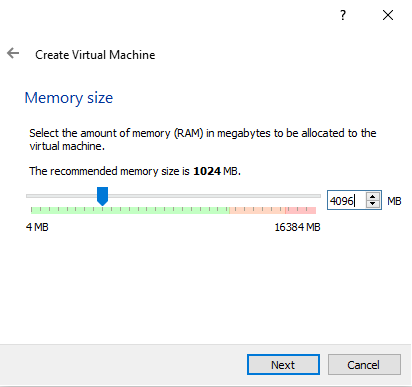
The next screen will request the size of memory (RAM) for the VM. For Kali, 2GB is the minimum requirement. I have gone with 4GB (4096) and never had any issues.
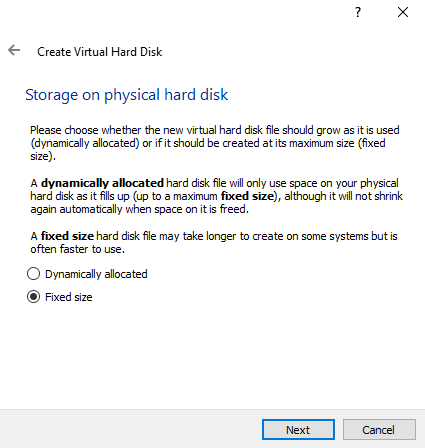
Depending on personal preferences you may decide between a dynamically allocated HDD or a fixed size. Personally I like to set the memory to a fixed amount, preventing me from going over and putting too much on my host machine. Especially when you start creating more VM’s, management of space is important.
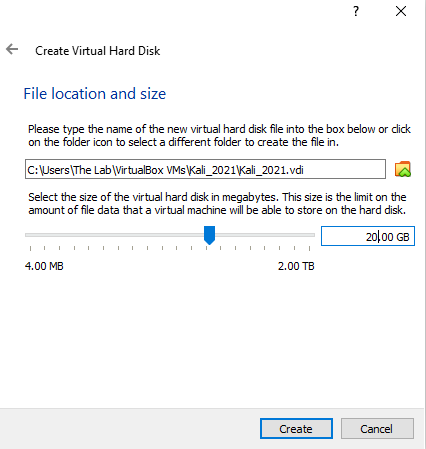
Minimum requirements for Kali states that a basic terminal with no GUI can be as low as 2GB. Kali documentation also recommends aiming for around 20GB especially when looking for the full OS experience.
Option 2) Prebuilt Kali

This was the first time using a prebuilt Kali package and I thought the process was too easy! After downloading it from the website (posted above) you just need to run it. It will then open a dialog box within VirtualBox with some settings.
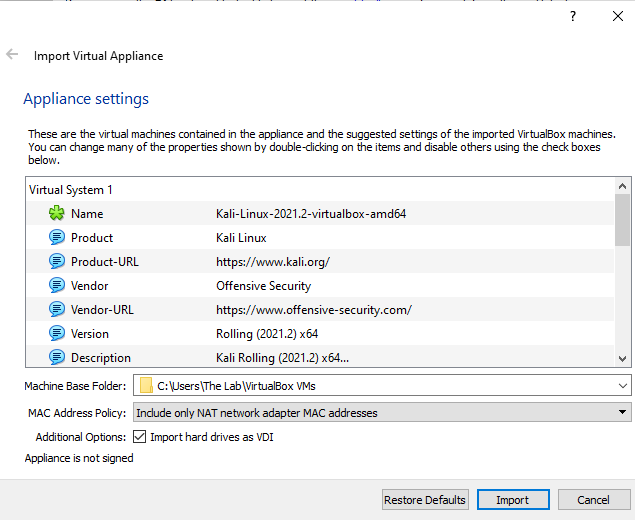
You have the option to scroll down within the settings that pop-up or you can import and edit after. It does come with the default memory size so if you would like to change any of this make sure you do so. Once its imported it is ready to “Start”! Before starting the VM it is important to review all settings including the network.
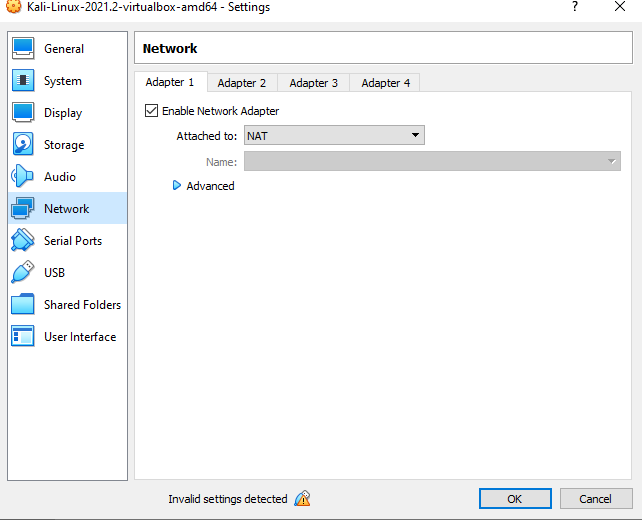
Within the settings of the VM you want to ensure you have the appropriate settings enabled. With NAT enabled on adapter 1, the VM will have its own IP from a virtual “Switch” within VirtualBox. This switch is logically connected to the router which is connected to your host machine thus giving you access to the internet. This also means it is important that you protect this machine just as much as anything else you have connected to the internet.
Start Kali
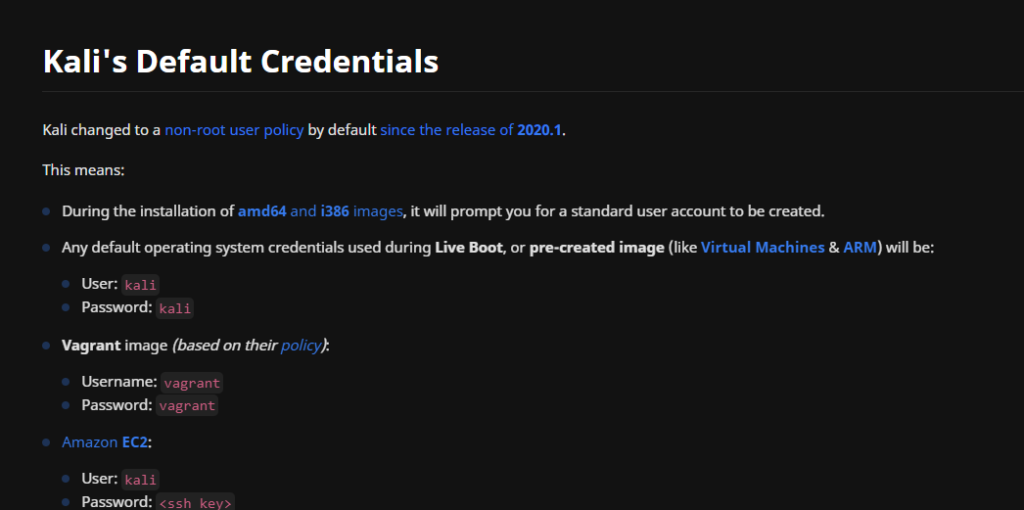
With running the Kali Linux prebuilt package you will be presented with the login screen and no other installation is nececssary. The credentials above allow access on a fresh install. It is very important that this information is changed. If it is not changed then anyone who does gain access will have full SUDO access (We do not want this).
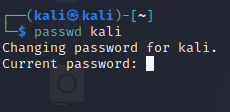
It is probably best to create another user or at least change the name of the Kali user but for the purpose of this instruction you can change the password with passwd followed by the username. It will ask for current password followed by the new password.

Another important step with a fresh install is to go ahead and update the system. You can do that with apt-get update and apt-get upgrade. This will limit any known attacks from being exploited (if patched of course). If you fail to update on a regular basis you will be faced with threats that anyone can just copy and paste.
Backup!

Lastly, a backup of the VM is important. This will allow those mistakes to happen. Especially for me while I am learning and looking to break it. I will rely on these snapshots to save me. If you also would like to take some extra measures depending on what you have within the VM, you can clone the snapshot to an outside source such as the cloud.
That is the end of this post. I am very excited to press on within this environment. I have a few things I am going to carry over from my previous setup that I will also write a post about. One thing that I am looking forward to bringing over is my notes with Joplin. Although I started doing this very recently, I feel Joplin has been a remarkable tool for me to take any notes when I am in the machines hacking away. Never Stop Learning!