Purpose
Are you looking to automate a workflow? Check out this n8n tutorial for beginners. It is a low code solution, offering plenty of different nodes and integrations to interact with apps you use everyday!
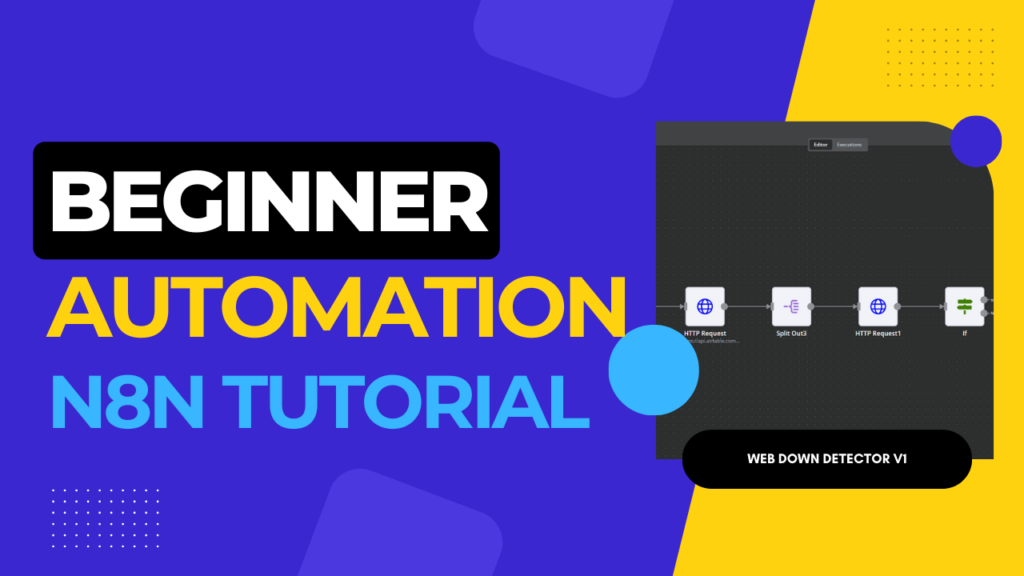
In this particular example we are building a website down detector. Essentially I want to have a way to quickly identify if a website is offline based on a pre-determined schedule. To start we use AirTable in order to store our website links. Next, within n8n we perform some API requests in order to pull the data into the automation. Lastly we perform a simple GET request and based on its response we are able to determine if it is online/offline.
Later on in a different video I plan to use this for another project. I want a similar automation but instead of just displaying this information at the execution I want it to start interacting with a microcontroller. The idea is I want it to give me a red light anytime a website is found offline. Other options include email and slack integrations to notify when a site goes offline. Let us know if this n8n tutorial for beginners helped you!
Step 1: Setting Up AirTable To Store Website Information to interact with n8n
Before automating anything, we need to store the websites we want to run this automation against. In this example, we will use Airtable. A SaaS solution giving us the ability to interact with a table in the cloud using a simple API call.
- Head over to https://airtable.com/
- Create an account and login. After logging in click on Start from scratch

- You will be provided with a blank table. Right click each of the columns aside from Name and delete. After deleting the columns, rename Name to Websites

- While here lets also rename Table 1 by right clicking and just remove the space and 1 to now just be Table

- Add a few websites in the table under Name, be sure to have a website that will not return a valid response. We will use this for testing.

- Head over to https://airtable.com/create/tokens/new so we can create a new Personal Access Token
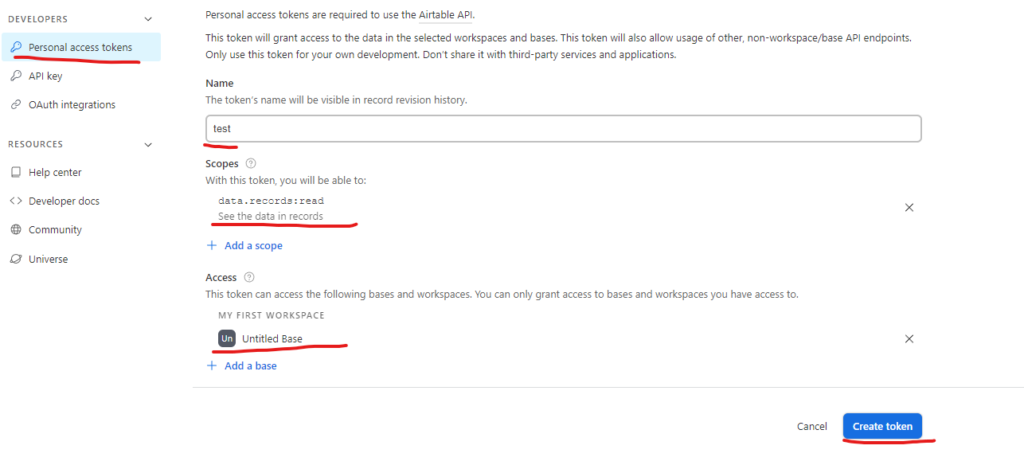
- Make sure on the left side click on Personal access tokens. Fill out the following fields to have it match the example below, Name Scopes Access. Once you have filled out the fields be sure to click Create token. Once you create the token, copy the token somewhere safe. Otherwise if lost you will have to regenerate it later on.

Step 2: API Call from n8n To Air Table Using HTTP Request Node
- Head over to n8n and add a HTTP Request Node

- Before modifying this node. Go ahead and head over to https://airtable.com/developers/web/api/introduction
- At the very bottom of this page, under My First Workspace click on the table we had just created. This will bring up API documentation with examples relating to our table.

- Find the Authentication section and copy the example from curl to the second “

- Back on n8n open up the HTTP Request node and click on Import cURL.

- Be sure to replace YOUR_SECRET_API_TOKEN with your actual Token. Click Import

- You will now have the curl request imported.

- Click on Test step and we should see the get request

Step 3: Splitting Out The Websites From API Call and using it inside n8n
- Next we will need to split out the websites into different items. Currently it is all under one item but if we add the Split node we can get it into three different items.

- Simply open the Split node and drag records to Fields To Split Out

- Click Test step and you should see 3 items instead of 1 item

Step 4: Checking If Website Is Online
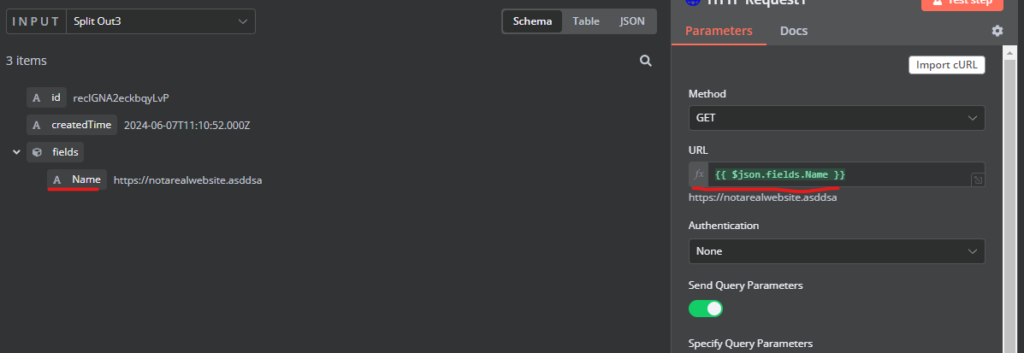
- Create another HTTP Request node and simply drag over Name under URL

- After executing the step we should again see the items split up into 3

- Within this same HTTP Request node you will have to add an option. Add the option Response and be sure to enable Include Response Headers and Never Error

- You will also need to change settings for this node to Continue on error. Otherwise for a website that is not real as provided in the example, you will halt the workflow and not have any data to work with.

Step 5: Using If Logic; If Status Code != 200
- In order to perform an action based on the Status Code we will need some login in place. In this example we will use an If Statement. Really all that will happen is if Status Code does not = 200 it will return false. From there we will set a variable to hold the website information. This can later then be used to send out in an email or notification.
- Add the If node

- Edit the If node and as before, simply drag over StatusCode in the Value 1 condition

Step 6: Set node
By this point we now have a true/false condition. We can drag the True condition to a Non Op, simple because at this time we have nothing further to do with a site that passes. For the False condition we can use the Edit Fields node in order to set some variables to clean up the data and use later for notification.

Conclusion
That is going to close out the tutorial for our first automation using n8n. I have been using it for several weeks and am absolutely loving it. Especially that it can be used as a no/low code solution but also offers that ability to add some code to further enhance its capability to perform an automation. This is just the beginning n8n tutorial for beginners, we have a lot more ideas to highlight in the near future, be sure to follow along for more!
Did you read the last blog where we used GPT Playground in order to set up an AI assistant for code development? Click here to read!
Be sure to check out our YouTube channel!
As always, Never Stop Learning!
