Purpose:
Just a few years ago I picked up and moved. The plan is for this to be a permanent location for me to reside and build up an empire. In doing so, the lab had to come down. Which I was super cool with as not much was going on and it was all poorly documented to begin with. Now that I am more settled in when I have time I am looking to build it back up. Today starts with the dashboard. The central component which will keep an abundance of links and information pertinent to the lab.
The purpose of this lab will cover the entire process of getting a dashboard setup using none other then Dashy! I actually have not heard of Dashy until just recently. I will say I am a big fan of the dashboard and the developer. In a future video I think I want to highlight the developer and their projects, super cool stuff.
With that being said lets get to it.
Video:
Steps:
1. Assign a static IP to Ubuntu server
Using Netplan with Ubuntu provides us as the administrator an easy way to update and modify the IP address from a single location. There is a number of ways to go about updating this address but over the years with the many servers I stood up and shut down I used Netplan to manage my static assigned addresses. The reason why we want to static assigned an IP address is because this server will host our dashboard (among other services). With a static assigned IP address we can know for certain that we can reach this dashboard by heading over to 192.168.1.107 (later will have a DNS name assigned).
The .yaml file can be found here, /etc/netplan/00-installer-config.yaml

It is currently setup to use dhcp to dynamically assign an IP address to the server. We will want to modify the config file..
We will set a few options within the config file
- Renderer : networkd # used to pick the underlying software to implement the network information
- addresses: 192.168.1.107/24 # used to statically assign an ip address and in this case 192.168.1.107
- routes: to: # used instead of gateway4, previously deprecated
- nameservers: # used to define our DNS server. This will change in the future when we set up our internal DNS server using PI-Hole but in the mean time this will suffice.

Apply the configuration by using sudo netplan apply
Verify IP address changed by using ifconfig eth0

2. Building our docker image
In this step we will use a docker-compose file in order to build our Docker image and start our container. I love using docker-compose as it is an easy way to maintain the configuration file (GitHub) and move it to another server if necessary.
Their are several ways we can get this done. We will use the template provided by the Dashy developers. If you asked me a few years back how I would get this template over to my server, I would probably set up a temporary python HTTP server to host/download this file on our new server. Now I find the best way to go about this would be using Visual Studio Code. We can set up an SSH session between VS code and make any necessary changes with ease. I have covered this a number of times in different videos but finally decided to do a brief walkthrough to cover this in another video which you can find here!
Dashy Documentation : docker-compose.yml
You can push this .yml file in any directory you would like. For the purposes of this lab we will place it in ~/dashy

You can edit the .yml using any editor you would like but I tend to stick to VS code. Now much needs to be changed from the default docker-compose. Lets break it down.
- image : Is the developers official docker image and can be found on dockerhub
- container_name : Personalized name, can be modified to whatever you would like
- volumes : Having a volumes directive will allow us to have a persistent volume. So if we ever need to migrate or would like to backup the data, we can do so. dashy_volume is the name and /app/user-data is the directory we are looking to have access to locally.
- ports : 4000 is the external port used to access dashy and 8080 is the internal port exposed in the container
- enviornment,restart,healthcheck : Not really necessary at this point
- volumes : This will allow the volume to be declared and is required if we have a volume directive inside of a service

Now that we have our docker-compose file modified to meet our requirements we can spin up the container by running sudo docker-compose up -d which will spin it up detached from our terminal

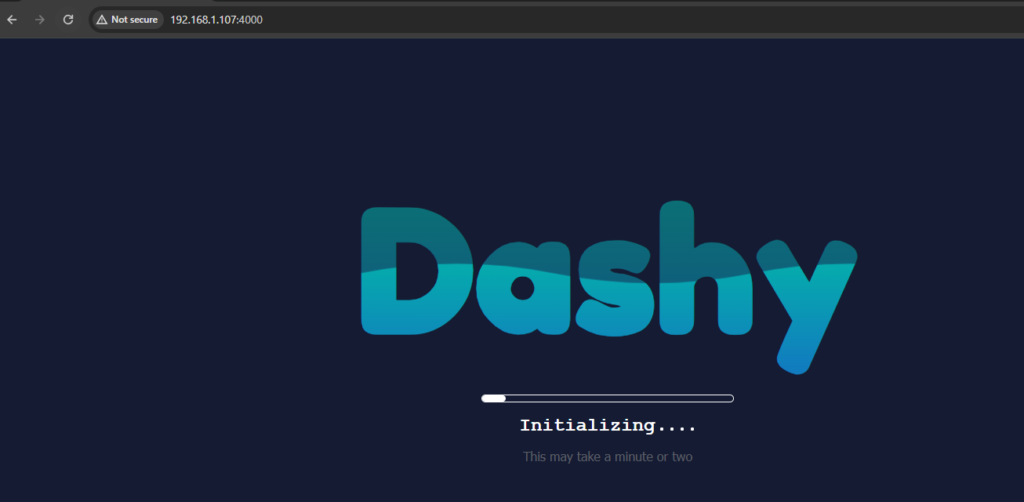
Head over to the ip address of eth0 (statically defined earlier) port 4000, 192.168.1.107:4000

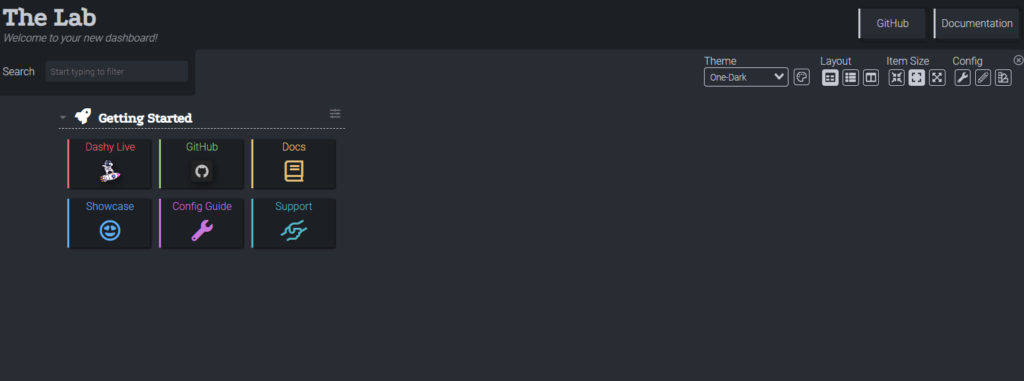
After initializing we will be brought to our dashboard!

Step 3: Maintaining our dashboard using GitHub
Recently I decided, with building up the lab again that I need a better way to maintain the various configuration files. So what better way then GitHub? We will create a private repo to store the dashy configuration file. To take it a step further we will automate the process of saving any updates to the dashboard using Cron. Allowing us to schedule a time for changes to be pushed to our repo.
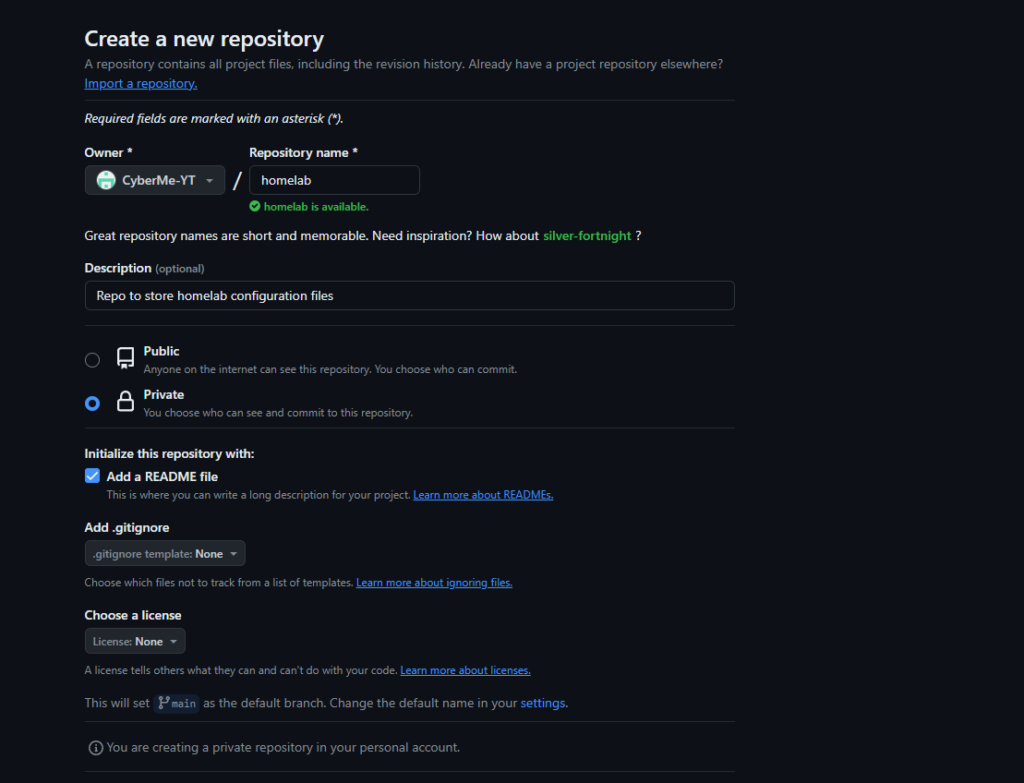
Create a new repository by clicking on the green New button

In the Create a new repository page you will want to assign a name and description. I will leave it up to you if you would like to make it private or public. In my case I want to have it as a private repo. I also added the README file which can be added later on. This will be used to create a brief overview of everything going on in my homelab.

Next I went ahead and created a homelab directory. In this directory we will have our github repos that we can then push to
NOTE: THE FOLLOWING STEPS ARE ALL STILL CORRECT BUT I HAVE SINCE CHANGFED THE GITHUB REPO TO HOMELAB INSTEAD OF GITHUB(MADE NO SENSE)

Created another directory homelab-dashy-dashboard inside of the github repo

In order to push the configuration file I created a linked directory of the volume defined in docker-compose
Example: ln source_file destination_file

Now anytime we make any changes to the source configuration file, the github directory will be updated
At this point we need to allow our server to push to our git repo and then create a script to allow automation
Create an SSH key, ssh-keygen -t ed25519 -C “githubemailhere”

Add the ssh key to our ssh agent, allowing us to push without specifying the ssh key each time. We can also add it to our identify file to persist through reboot. Which you should probably do if you want to automate this process using a script and cron
Simply write “IdentityFile ~/.ssh/github” inside of a config file within ~/.ssh

If you do not want it to persist but would like to skip specifying the private key during SSH then do the following
eval “$(ssh-agent -s)”
ssh-add keyfilehere
ssh-add -l # to verify key has been added
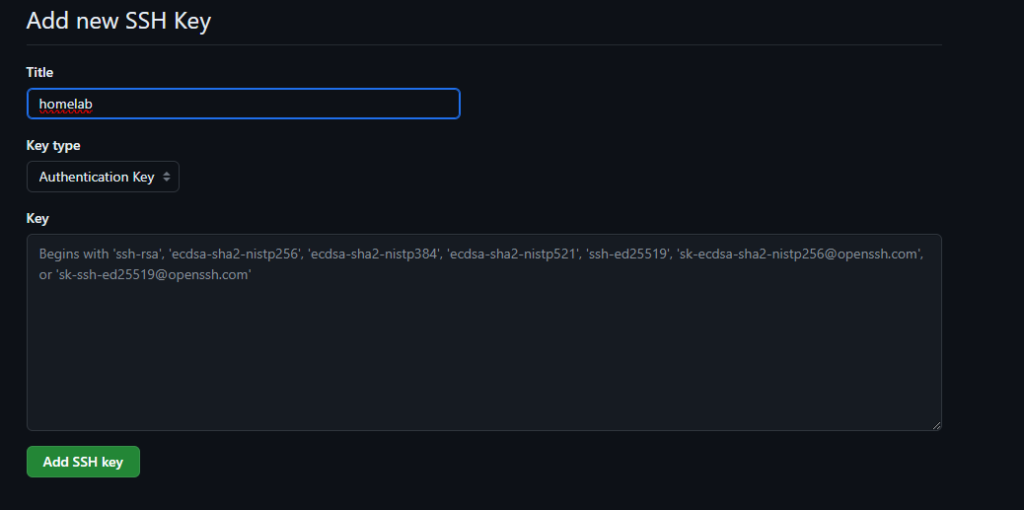
Back on GitHub, click on settings > SSH and GPG keys

New SSH key

Give the key a title and also place the contents of the .pub key under Key

Almost done!
Back on our server, cd into our homelab directory
Before going any further it is a good idea to test the SSH connection by executing ssh -t git@github.com you should get PTY allocation request failed on channel 0 returned

execute git init

Update user,email by running git config –global user.email “you@example.com”
Next we want to add origin
git remote add origin git@github.com:GitHUBNameHere/homelab
Set the upsetream branch
git push –set-upstream origin main
Execute git status

Execute git add

Execute git commit -m “whatever comment you want here”

Execute git push

Easily enough GitHub also gives us instructions after creating a new repository

Now if we refresh our repo we can see our conf file being pushed to GitHub 🙂

Step 4 : Automate the push using a bash script and cron
Note: Honestly not the best way to go about it if you are looking to have actionable commits. For example we are going to use this script that will push to our repo once a day with “Automated commit (date)”. Not giving us much information to reference as to what was changed and will require us to dig into the diff to see what updates have been made. The biggest reason why I want to go about it this way is because 1. its a lab environment and 2. I rather have the changes pushed then forget altogether and lose out on the repo being updated over time. Its up to you, for me its just another fun thing to do.
Inside of our new homelab repo, lets create another directory scripts
Lets create a file inside of scripts, update_github.sh
#!/bin/bash

# Change to the directory of your Git repository
cd /home/kaj/homelab

# Add all changes to the staging area
git add *

# Commit changes with a default message
git commit -m "Automated commit $(date)"

# Push changes to the default branch
git push origin main
make the script executable by using chmod +x update_github.sh
Execute ./update_github.sh

We now have our scripts folder/update_github.sh pushed to our repo
Lastly lets automate it using a simple cronjob
Execute crontab -e and select whatever editor you prefer
Add 0 12 * * * /home/kaj/homelab/scripts/update_github.sh >> /home/kaj/homelab/scripts/cron.log 2>&1 to the bottom. This will execute at 1200 (24 hour time) and write out status of execution to cron.log.
Make sure to check date to ensure that whatever time you are using in there matches up with system time. In my case (default) time is set to UTC
Boom…. Done!

As always, Never Stop Learning!
References
Check out the most recent blog we discussed OpenVas vulnerability scanning!