I recently acquired another Raspberry pi 3b+. Instead of adding it to my homelab and throwing more docker containers on it (I wanted to) I ended up making it a retro gaming console. I decided that it would be a good addition to my collection, allowing me access to all of the classics.
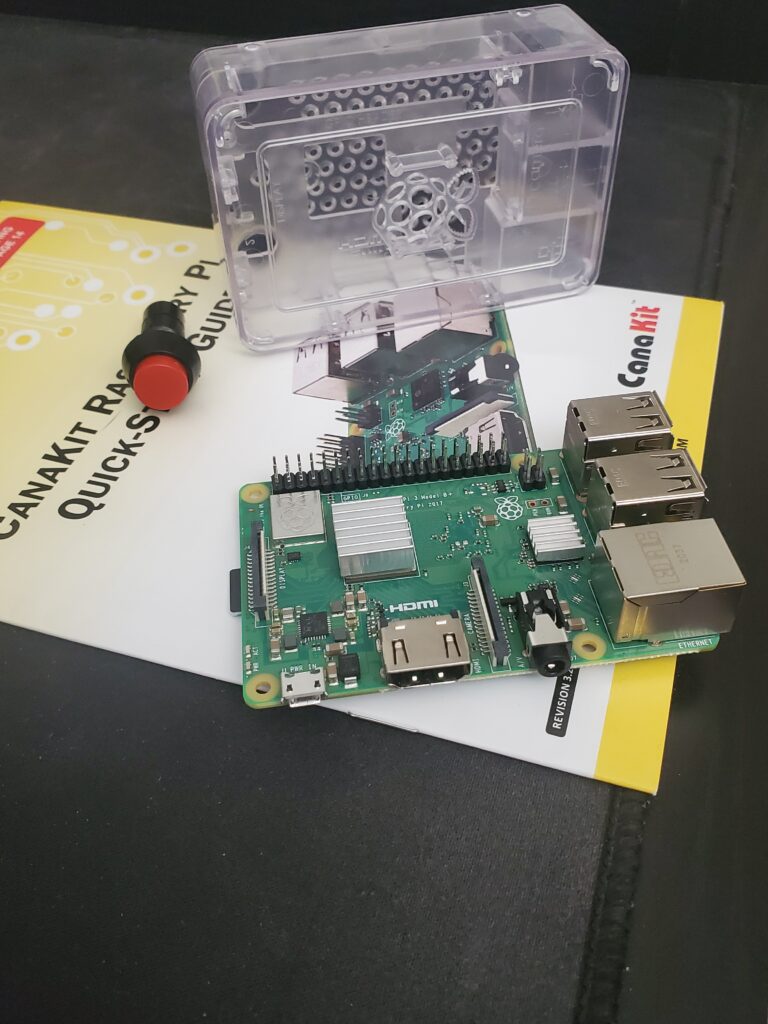
Requirements
- Raspberry pi w/ Recalbox installed
- 1x button and two wires for GPIO pins
- SSH access
Goal
The goal of this instruction should get you in the right direction if you were looking to install a power on/off button on your Raspberry pi running Recalbox (or any other image really). This instruction will not cover the install of Recalbox or configuration options and instead will assume this has been accomplished previously.
1) SSH into Recalbox
There are actually two ways to complete this step. First we must know the ip address. If you know all of the addresses on your network a simple command arp -a can be used to see what new ones have been added. This works for me considering I have some documentation for all ip addreses on my home network. Another easy way to go about this would be to go to routers interface and check for connected devices. Under this tab depending on router you may get the ip address and name associated with that device.
Once you have the ip address you have two ways to gain access. One way being over SSH and the other over the web.
Command Terminal or Powershell:
ssh root@ip.address
password: recalboxroot
Another way to gain access as mentioned previously is on the web. Just type in the ip address of Recalbox into whatever browser you are using and you will see a nice GUI. From here you can mess around with the configuration files, see temperature and even add ROMS. For the purpose of this instruction we will focus on SSH.
2) Python / bash
Now that we have access we are going to create two files. The first file being the python code to interact with the GPIO pins and the other file being a bash script to run the python file on startup. A disclaimer I did not write this python code, I am still learning python. It is fairly easy to understand if you have any experience with python. You can create the python file anywhere, I created mine in the home directory (~) and named it pyshutdown.py

note: I will be figuring out how to use pastebin for code going forward. Allowing viewers to copy and paste. Considering I will be doing more writeups for programming projects as I do tend to enjoy this stuff.
Once the python file is created you then want to create a bash script to execute this python code on startup. You will create this bash script in the /etc/init.d directory. Its name starts with S99 identifying the priority level. In other words S99 script will start after all others S97, S98 etc…
note: On recalbox this directory will be read-only and you will have to mount it using the following command: mount -o remount,rw /boot

I named my file S99shutdown.sh in the /etc/init.d directory. After creating the file and saving the above script you will want to make it executable.
chmod u+x S99shutdown.sh
You can confirm it is executable by running the ls command and seeing the color change from white to green. You can also run the ls -l command and see x in each of the permissions identifying it is executable for owner/group/world.

3) Testing
I used a bread board with a momentary switch and two wires. This is just an easy way to verify the solution will work as intended.
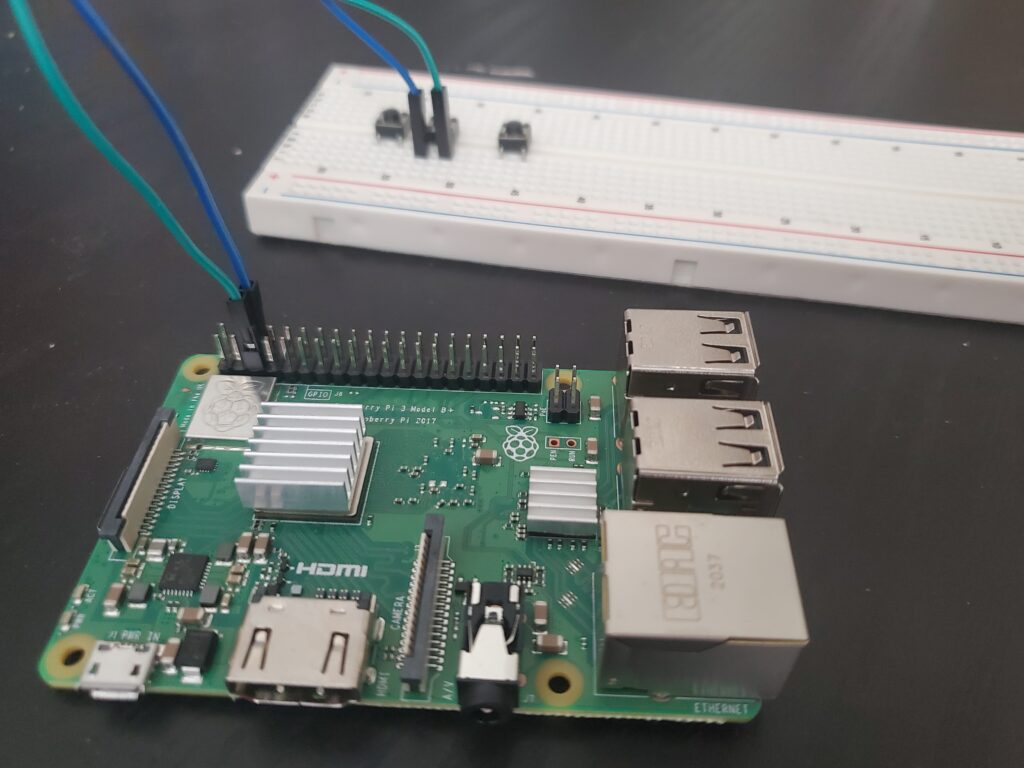
The two pins we are concerned about are 5 and 6.

On the breadboard side we just want to place one wire on one post and another wire on the other post. If you look at the below picture you would want to connect one wire to A and the other wire to B. Pressing the button will connect the two and causing this script to run.

4) Execute
At this point we have both scripts saved and executable. We also have the two GPIO pins (5/6) connected to momentary switch on breadboard. All that is needed to test the button is to execute the script and press the button. You can do this by running
python pyshutdown.py -m push (make sure you are in the same directory as python file)
or
we can execute the bash script which will in turn execute the python script
/etc/init.d/S99shutdown.sh start
Now that the script is executed pressing the button should shut the off the Raspberry pi! Since I was not able to see the device physically shutting down as it was not connected to a display I decided to use the ping command.
ping -t ipaddress
The -t option will continuously ping the machine, allowing you to see when the connection becomes unreachable.
Final Product
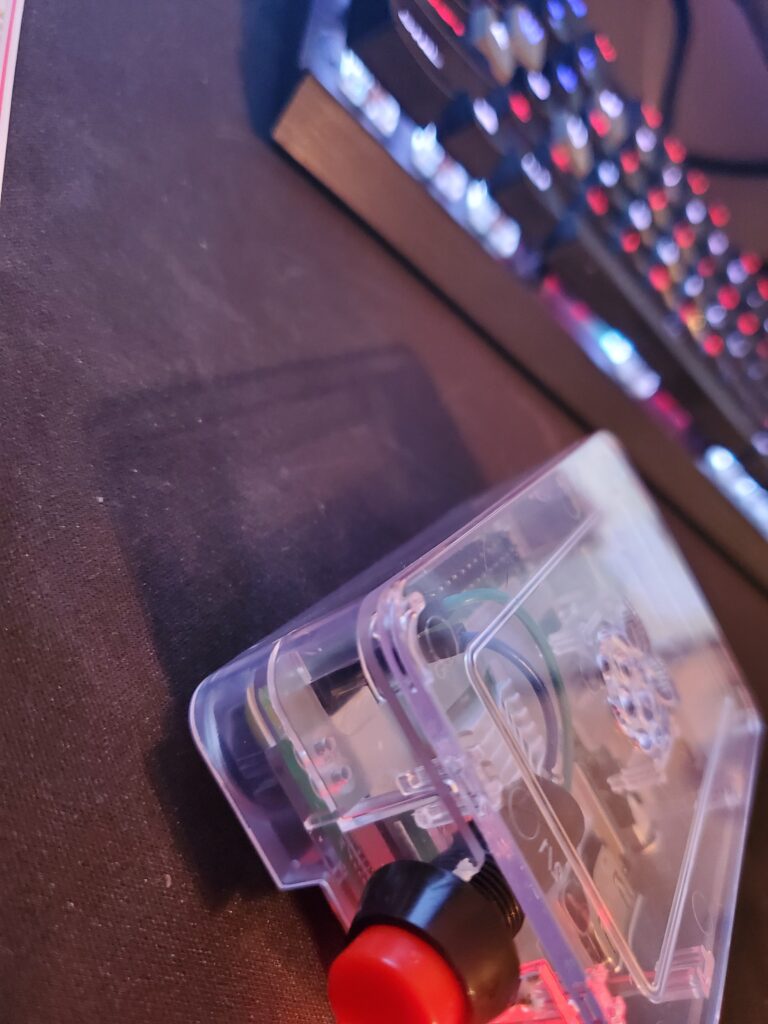
After verifying the button worked on my test board I ended up installing a button onto the case that came with my kit. I first drilled a hole to fit the button.
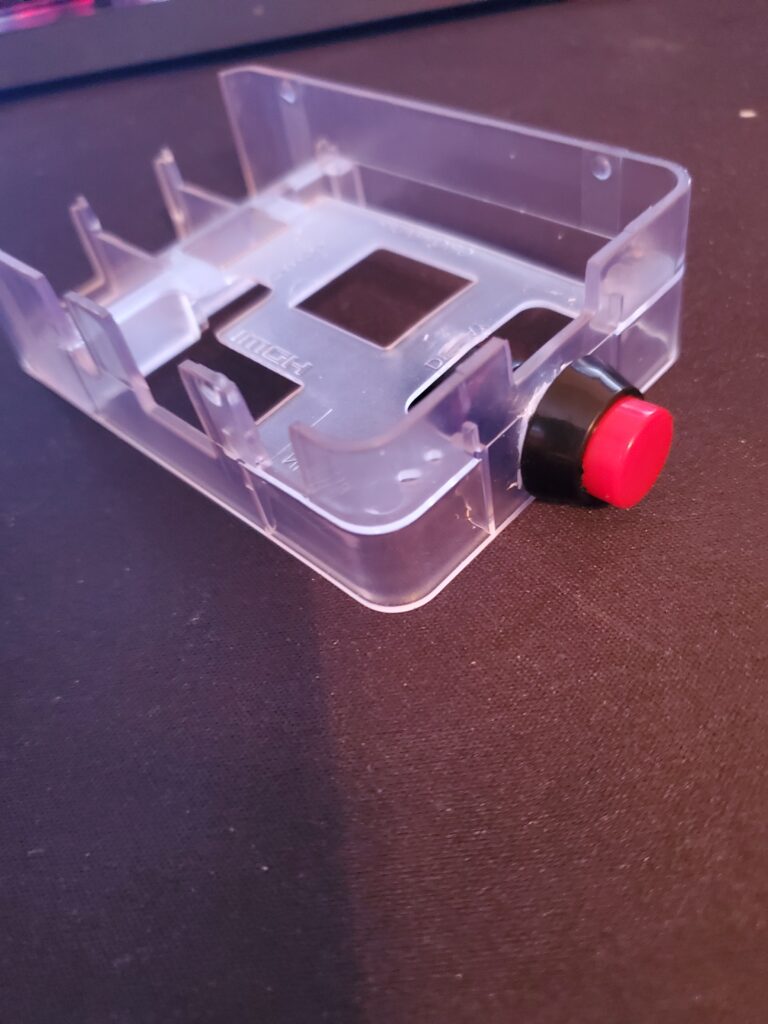
After installing the board I did have some placement issues so I ended up using a dremel to cut a slit in the top allowing the switch to slide upwards. I then soldered the two wires onto the button.
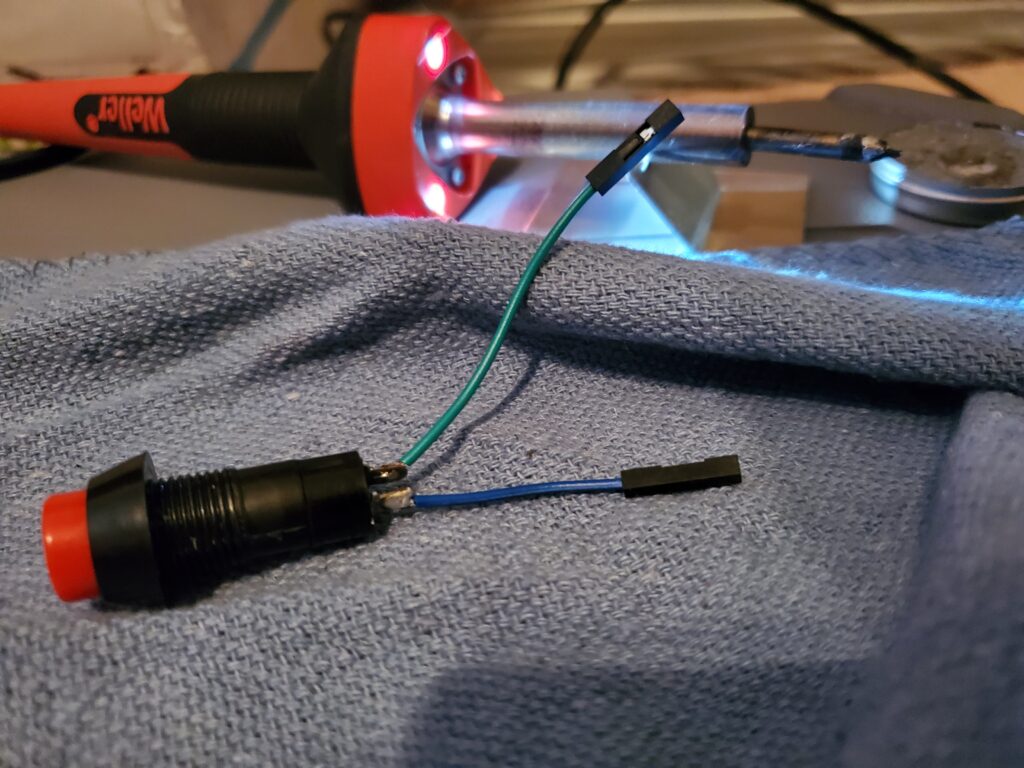
Last but not least I installed the button and two wires inside the case and started playing some Galaga!
The End
Super fun project! I now have a console to play all of the classic games. I did run into a few problems which is why I really wanted to document this process for others and for me going forward. I most likely will do this again either for myself (for my other room) or for some friends and family. I find it to be an awesome gift. I may also have to get another case or maybe a fan as it does seem to stay around 70 degrees C, which I guess is okay but could be a lot better. Hope you can take something away from this or at least enjoyed it. As always, Never Stop Learning!